Listing ID #4199136
Company Information
Ask for more detail from the seller
Contact SupplierINSTALLATION
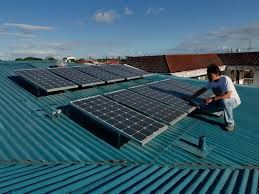
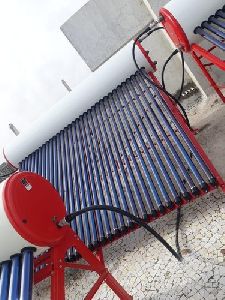
1. Handle carefully while transporting, unloading and lifting the system to the terrace.
2. Install the system where it gets maximum sunlight.
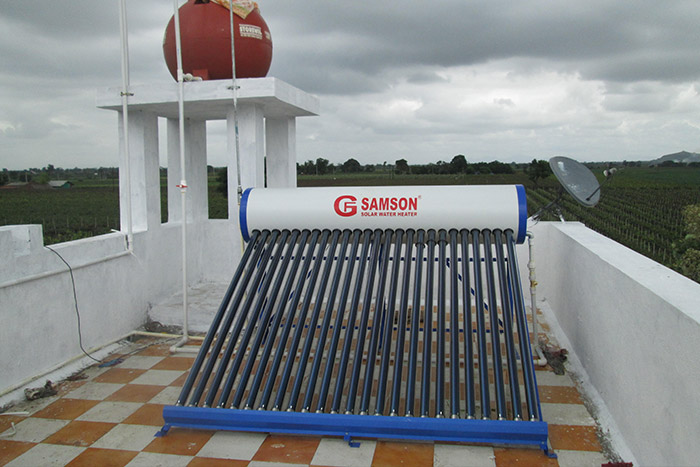
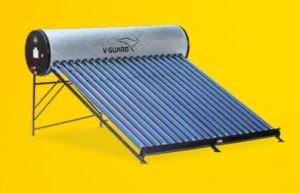
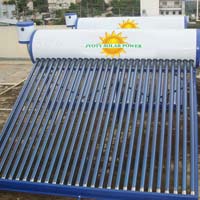
3. Assemble the mounting frame of the tank and/ or manifold such that the ETC tubes are facing towards South.
4. Put the Hot water/ Manifold over the frame. Check whether the tank/ manifold holes are facing the holes of the Bottom Support Bracket.
5. Put the Bottom Caps into the Bottom Support Holes.
6. Put anti-dirt seal over the ETC Tubes.
7. Apply some oil or soap water to the Silicon Rubber Grommets and to the end of the ETC Tubes as lubricant.
8. Fix one ETC tube to each end of the Tank/ manifold by slowly screwing it into the tank.
9. Push the ETC Tube down till it gets securely placed in the Bottom Cap.
10. If the alignment is ok. Tighten the bolts under the tank to the frame.
11. Now install all the remaining ETC Tubes.
12. Connect the inlet-outlet pipes to the tank. Fix a non Return Valve (preferably horizontal) and a ball valve to the inlet pipe of the tank as shown in the figure. If it is a manifold system , connect the manifolds to the tank and connect inlet outlet pipes to the tank.
13. Fill up the tank with cold water when the ETC Tubes are cold. Specially early morning before sun rise or after 10 O’clock at night. Check for any leakages. Sometimes, the Silicone Rubber Garmmets are displaced while inserting the ETC Tubes. If there is any leakage form the Anti-dirt seal, remove the tube, place the silicone rubber ring on its seat and reinsert the tube.
CAUTION
The empty system should never be filled with cold water in the afternoon or when the Tubes are hot. Either fill it up before 7 am in the morning or After 10 O’clock at night. Otherwise, the ETC Tubes are prone to crack due to temperatuere shock.
|
System capacity |
Hot Water Tank Wight |
System Surrounding |
Max. System Outlet Temperature in winter |
3-layer Borosilicate Tube Size (In mm.) |
Hot water storage tank Type
|
Users |
||
|
100 LPD |
26kg |
1950X900 |
60 degree Celsius ± 5 degree |
58X1800 |
Branded GI |
3-4 |
||
|
150 LPD |
37kg |
1950X1280 |
60 degree Celsius ± 5 degree |
58X1800 |
Branded GI |
5-6 |
||
|
200 LPD |
48kg |
1950X1700 |
60 degree Celsius ± 5 degree |
58X1800 |
Branded GI |
7-8 |
||
|
250 LPD |
59kg |
1950X2100 |
60 degree Celsius ± 5 degree |
58X1800 |
Branded GI |
9-10 |
||
|
300 LPD |
70kg |
1950X2500 |
60 degree Celsius ± 5 degree |
58X1800 |
Branded GI |
11-12 |
||
|
500 LPD |
85kg |
2370X2580 |
60 degree Celsius ± 5 degree |
58X2100 |
Branded GI |
13-15 |
||
|
500 LPD |
91kg |
3750X1650 |
60 degree Celsius ± 5 degree |
58X1800 |
Branded GI |
13-15 |
||


Connect with us